


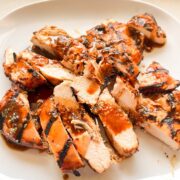

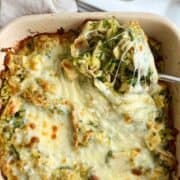
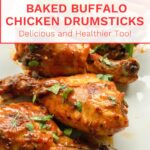
Buffalo chicken drumsticks are perfect for a game-day snack or an easy dinner. The drumsticks are baked and then glazed with a spicy sauce. Removing the skin makes them healthier too!

I love buffalo chicken drumsticks. 'They are one of my go-to meals when I want something easy but still healthy. The sauce is spicy. However, the heat can be adjusted to your preference. I use drumsticks instead of the traditional wings because I can remove the skin from the chicken. Plus, they have more meat on them than wings.
To lower the calories, I bake the chicken instead of deep-frying them. Baking them makes the buffalo drumsticks healthier, and they are delicious. If you have leftovers, you don't need to warm the drumsticks because they are tasty eaten cold. Buffalo drumstick is one of my husband's favorite dinners and lunches!
Jump to:
History of Buffalo Chicken Wings
Buffalo Chicken wings originated in 1964 in Buffalo, New York, at the family-owned Anchor Bar. Teressa Bellissimo is credited with creating the recipe.
She deep-fried wings and smothered them with her special sauce. Because she had celery and blue cheese on hand, Bellissimo served them with the wings.
This dish has become a favorite, and it is served in bars and restaurants all over the country. However, it is very easy to make at home.
Ingredients for buffalo chicken drumsticks?
- Chicken Drumsticks-I like to use chicken that is either organic or that is free of antibiotics. But if that is not your thing, you can use any chicken drumstick you prefer. I have also made this recipe using chicken thighs, and they were delicious!
- Frank's RedHot® Buffalo Wings Sauce-any grocery store carries this sauce. You can find it with other hot sauces.
- Oil-I like to use extra light olive oil, but you can also use canola, vegetable, or avocado oil.
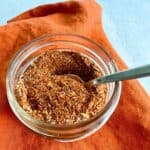
Spices
- Garlic powder-if you do not have garlic powder, you can also use equal amounts of granulated garlic or fresh garlic. Look for it in the spice section of your grocery store.
- Onion powder- if you do not have onion powder, you can use ½ tablespoon onion flakes OR- 1-2 tablespoons jarred minced onion OR - 1 teaspoon granulated onion OR - ¼ cup chopped fresh onion. It would be best if you had more freshly chopped onion to replace the more concentrated flavor in onion powder. Look for onion powder in the spice section of your grocery store.
- Cayenne Pepper-this is a powder that you can find in the grocery store's spice section. Be careful how much you use because a small amount goes a long way. If you want less spice, eliminate the cayenne pepper and if you want more kick, add ¼ teaspoon at a time to reach the amount of heat that you like. Substitute Cayenne Pepper with 10-12 drops of Tabasco sauce OR equal amounts of red chili flakes/powder. You can also use paprika. However, it’s milder, so you will need to use about twice as much.
- Salt-I used kosher salt, but you can use any salt you would like. If you use a finer ground salt, use half the amount.
- Ground Black Pepper-I used coarse ground black pepper. If you use a finer grind, cut the amount in half.
How to Make Buffalo Chicken Drumsticks:

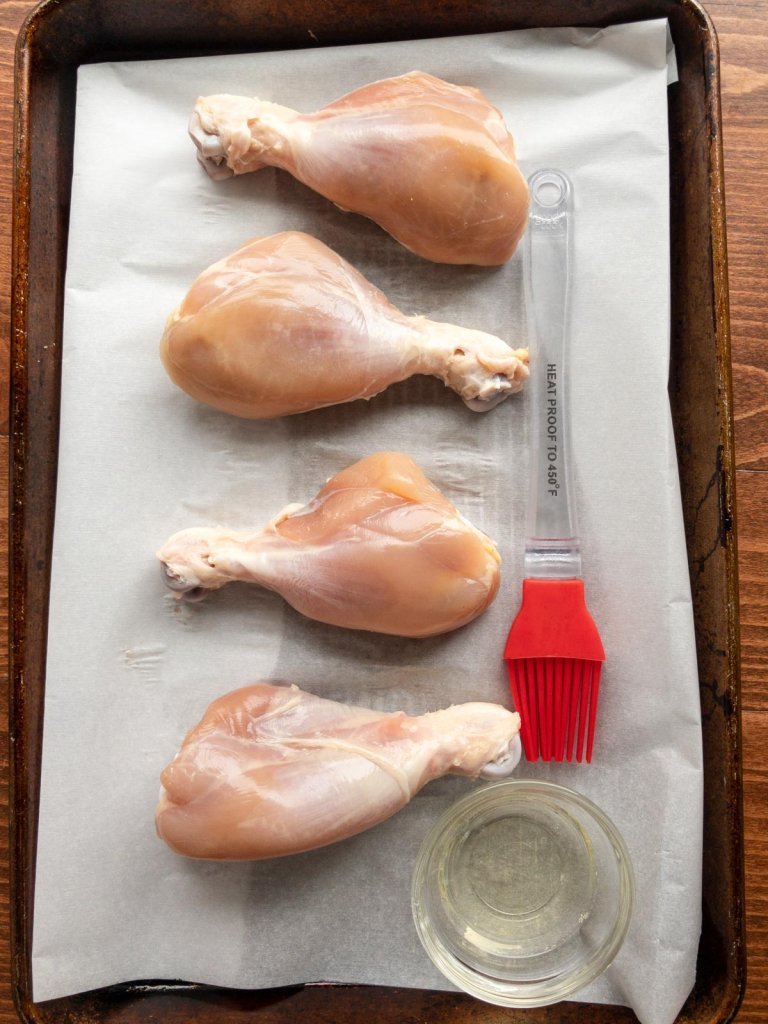


- Gather ingredients.
- Remove skin from drumsticks. Pat the drumsticks dry and brush with oil.
- Season drumsticks with salt and pepper.
- Bake drumsticks.
- Combine sauce and spices.
- Brush sauce on drumsticks.
- Broil chicken for a few minutes to heat the sauce.
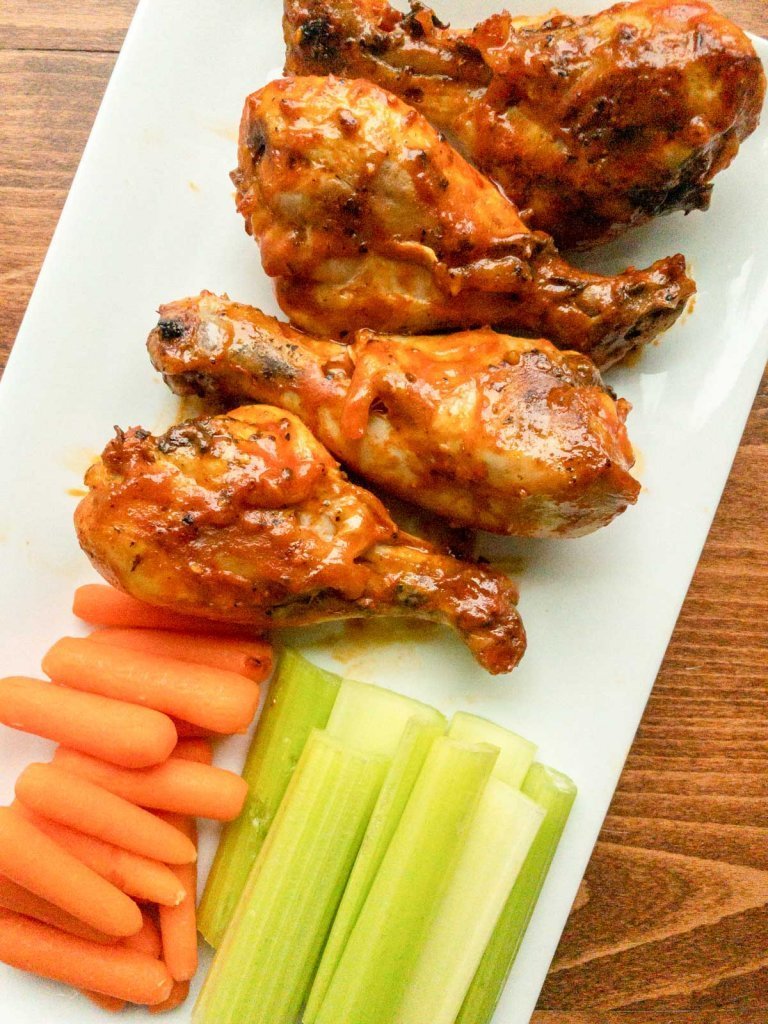
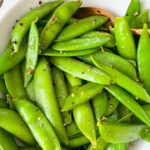
Enjoy! I like to serve the drumsticks with baby carrots and celery. However, Apple Cranberry Salad would also pair well with the buffalo chicken drumsticks. Delish! Give them a try, and let me know how what you think!
Tips for Success
- The most important thing is to dry the chicken with a paper towel so it can brown.
- Separate the drumsticks on the sheet pan so they can brown evenly.
- If the chicken is frozen, be sure to thaw it before baking.
How to Store Leftovers
If you have leftovers, store them covered in your refrigerator for up to 3 days.
I hope you try this recipe! Give it a rating, and please comment below. I love hearing from you!
Print📋 Recipe

Buffalo Chicken Drumsticks Healthier (Baked)
- Prep Time: 10 minutes
- Cook Time: 25 minutes
- Total Time: 35 minutes
- Yield: 4 drumsticks 1x
- Category: Appetizer, Main Course
- Cuisine: American
Description
Spicy chicken drumsticks that are perfect for a game day appetizer or a simple dinner.
Ingredients
Chicken drumsticks
- 4 each chicken drumsticks
- 1 tablespoon extra light olive oil
- ½ teaspoon ground black pepper
- ½ teaspoon Kosher salt
Sauce
- ⅓ cup Franks RedHot®Buffalo Wings Sauce
- ¼ teaspoon garlic powder
- ¼ teaspoon onion powder
- ½ teaspoon cayenne pepper
Instructions
Chicken Drumsticks
- Preheat the oven to 425°F.
- Line a sheet pan with parchment paper or spray with pan release.
- Remove the skin by holding the bone of the drumstick while pulling the skin off the chicken.
- Pat drumsticks dry with a paper towel. Place the drumsticks on the sheet pan.
- Brush the drumsticks with oil.
- Season drumsticks with salt and pepper.
- Place the sheet pan in the preheated oven and bake for 10 minutes.
Sauce
- While the chicken is cooking, combine Franks RedHot®Buffalo Wings Sauce, garlic powder, onion powder, and cayenne pepper in a bowl.
- Using tongs, flip the drumsticks and bake another 10 minutes or until the drumsticks are golden brown and reached 165° F.
- Once the chicken is done, remove the sheet pan from the oven.
- Set the oven temp to broil.
- Brush the sauce liberally all over the drumsticks.
- Place the pan back in the oven for 5 minutes until the sauce is hot and starts to brown.
- Remove the sheet pan from the oven.
- Enjoy!

Notes
- Be sure to dry the drumsticks so that it will brown.
- If you use frozen drumsticks, be sure to thaw them before baking.
- Leftovers should be stored in the refrigerator for up to 3 days.
- The drumsticks can be eaten cold.
Nutrition
- Serving Size: 1 drumstick
- Calories: 191
- Sugar: 2.2 g
- Sodium: 638.4 mg
- Fat: 8.1 g
- Carbohydrates: 4.7 g
- Protein: 23.8 g
- Cholesterol: 108.6 mg

G
Easy and delicious!
Sarah U.
These are delicious Gitta! My biggest mistake was to not make enough of them. I also appreciate the details in the instructions and what I learned. I never knew to (1) cook on parchment (huge time saver), (2) dry my chicken before seasoning, and (3) separating the pieces for better browning. Thanks for a great recipe and the prep tips.
Gitta
Sarah-Thank you for your nice comments. I am happy you enjoyed the drumsticks and that you learned prep tips that you can use in the future!