This Chocolate-Raspberry Icebox Cake is the perfect no-bake dessert for any time of the year. Layer freshly whipped cream and raspberries between chocolate wafers, refrigerate and devour. Go ahead and have a second piece-it's okay!

You need this 5 ingredient chocolate-raspberry icebox cake in your recipe collection. This recipe fits the bill when you want an easy and impressive dessert but don't have the time to bake or just don't feel like making a mess in your kitchen.
I was introduced to this cake over 30 years ago and have been making it ever since. The original Zebra Cake recipe is made by layering whipped cream between chocolate wafers forming a log and frosting the log with whipping cream. It was then cut at a 45-degree angle to resemble the white and black strips on a zebra and therefore is called a Zebra Cake.
I find making the cake this way cumbersome, so I created an easier recipe by layering the whipped cream and chocolate wafers in an 8-inch by 8-inch pan. Adding raspberries in the layers adds freshness and color, making it impressive.
Jump to:
Five Simple Ingredients

- Chocolate Wafers-I use Nabisco chocolate wafers for this cake. You can find them on the top shelf in the cookie aisle of most grocery stores.
- Heavy Whipping Cream-Take a few extra minutes and make your own whipped cream. Believe me, it is worth it. You could use Cool Whip, but you just can't beat the flavor and creaminess of homemade whipped cream. Canned whipped topping will not work in the recipe because it will not hold up in the cake.
- Powdered Sugar-the cornstarch in powdered sugar helps stabilize the whipped cream and prevents it from weeping.
- Vanilla Extract-adds a bit of flavor to the cake.
- Fresh Raspberries-adds freshness. You can substitute frozen berries. If using frozen berries, thaw them and drain the excess juice. Then, fold them into the whipped cream.
Let's Make An Ice Box Cake

Whip the heavy cream, vanilla, and powdered sugar.
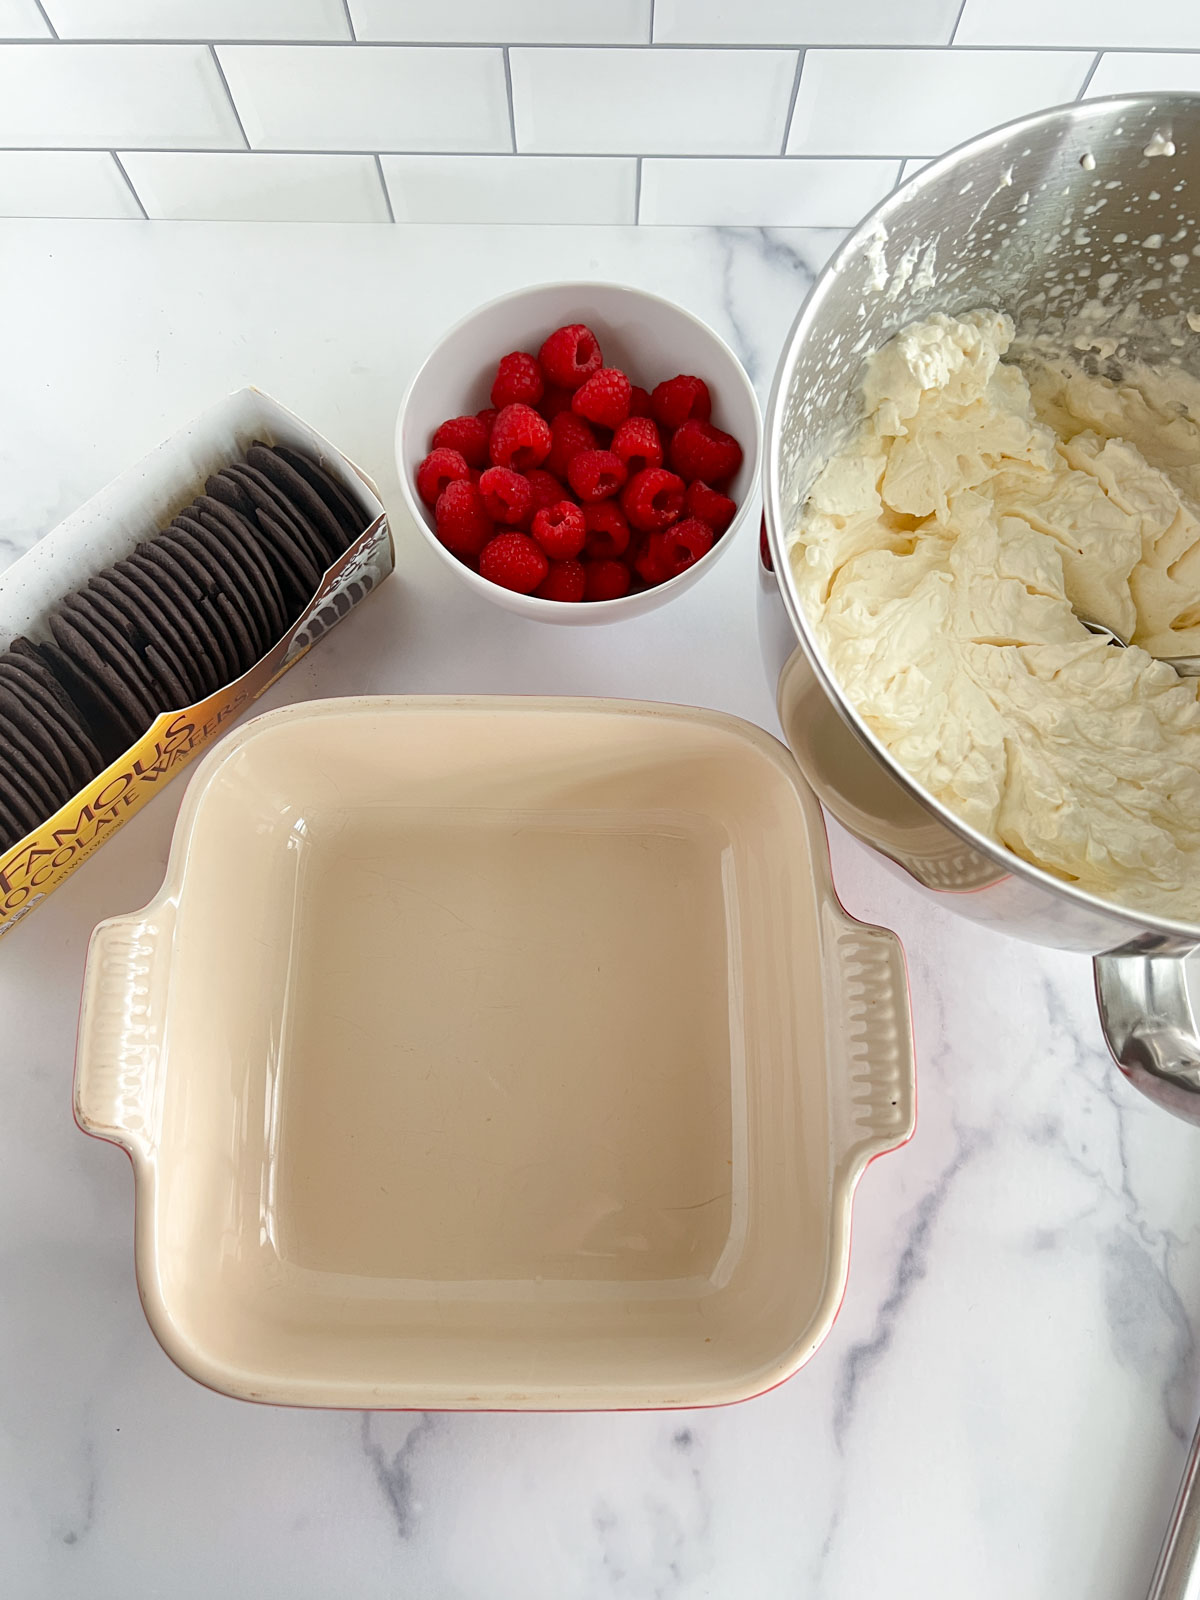
Gather ingredients, pan, and spatula or large spoon.

Layer with ¼ of the whipped cream, ⅓ of the raspberries, and ⅓ of the chocolate wafers. Repeat the layers two more times.

Top with remaining whipped cream. Cover and refrigerate for at least 8 hours or overnight.

Garnish with raspberries and, if you wish, shaved chocolate. Dig in and enjoy! You will love this light and refreshing cake.
Tips for Success
- Plan AHEAD! The cake needs enough time to set. Otherwise, the wafers will not be soft enough to cut the cake.
- Heavy cream whips up best if the cream is cold. If your kitchen is warm, place the bowl in the refrigerator for a few minutes.
- Watch it closely when beating the heavy cream so as not to overbeat it. It can quickly turn into butter. You will have delicious, creamy homemade butter if it turns into butter. Use it on a loaf of your favorite bread or your morning toast.
Common questions
Icebox cakes became popular in the early 20th century when non-mechanical refrigeration was developed. The appliance was called an icebox. Since the cake had to be stored in the icebox for the cookies to soften, it was called an Icebox Cake.
Heavy whipping cream can have no less than 36% milk fat. On the other hand, whipping cream has a lower fat content of 30-36%. Heavy whipping cream is thicker than creamer.
You can use either heavy whipping cream or whipping cream for this icebox cake recipe.
Storage Tips
Store the cake covered in the refrigerator for up to two days.
Substitutions and Recipe Variations
- Granulated sugar works as a substitute for powdered sugar.
- Use ⅓ cup raspberry jam folded into the beaten whipped cream instead of raspberries.
- Fresh sliced strawberries are a wonderful substitute for raspberries.
- Chocolate graham crackers or Oreo thins are delicious substitutes for chocolate wafers.
What to serve with this cake
Chocolate-Raspberry Icebox cake is the perfect ending to any meal, whether on a special occasion or weeknight. Serve it with Chicken Schnitzel or with this Easy Sheet Pan Chicken Dinner.
I hope you try this recipe! Please rate it and comment below. I love hearing from you!
Print📋 Recipe
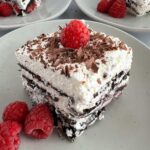
Easy and Delicious Raspberry Chocolate Ice Box Cake
- Prep Time: 15 minutes
- Total Time: 15 minutes
- Yield: 9 servings 1x
Description
This Chocolate-Raspberry Ice Box Cake is the perfect no-bake dessert for any time of the year. Layer freshly whipped cream and raspberries between chocolate wafers, refrigerate and devour.
Ingredients
- 3 cups heavy whipping cream
- 3 tablespoons powdered sugar
- 2 teaspoons vanilla extract
- 1 9 ounce (255 g) package of chocolate wafer cookies
- 1-2 cups fresh raspberries
Instructions
- In the bowl of a stand-up mixer, add heavy whipping cream, powdered sugar, and vanilla extract. Whip at high speed until stiff peaks form.
- In the bottom of an 8-inch by 8-inch square pan, spread ¼ of the whipped cream. Top with ⅓ of the berries. Top the berries with ⅓ of the chocolate wafers. Break the cookies to distribute them evenly over the berries. Repeat layering two times ending with the remaining whipped cream.
- Cover the pan with plastic wrap and refrigerate for 8 hours or overnight.
- Remove from the refrigerator, garnish with remaining raspberries, and grate chocolate over the top of the cake if you wish.
- Store leftovers covered in the refrigerator for up to 2 days.
Notes
- Plan AHEAD! The cake needs enough time to set. Otherwise, the wafers will not be soft enough to cut the cake.
- Heavy cream whips up best if the cream is cold. If your kitchen is warm, place the bowl in the refrigerator for a few minutes.
- Watch it closely when beating the heavy cream so you don't overbeat it. It can quickly turn into butter. You will have delicious, creamy homemade butter if it turns into butter. Use it on a loaf of your favorite bread or your morning toast.
Nutrition
- Serving Size: 1 serving
- Calories: 274
- Sugar: 15.1 g
- Sodium: 175.7 mg
- Fat: 18.5 g
- Carbohydrates: 25.5 g
- Protein: 3.1 g
- Cholesterol: 45.8 mg
For your convenience, there are links to Amazon for equipment that I use to make this recipe. If you purchase the equipment, “As an Amazon Associate, I earn from qualifying purchases.” I'll receive a small commission. For more information, please read my policy.














Abby
I can't wait to try this recipe! It looks fantastic and easy!